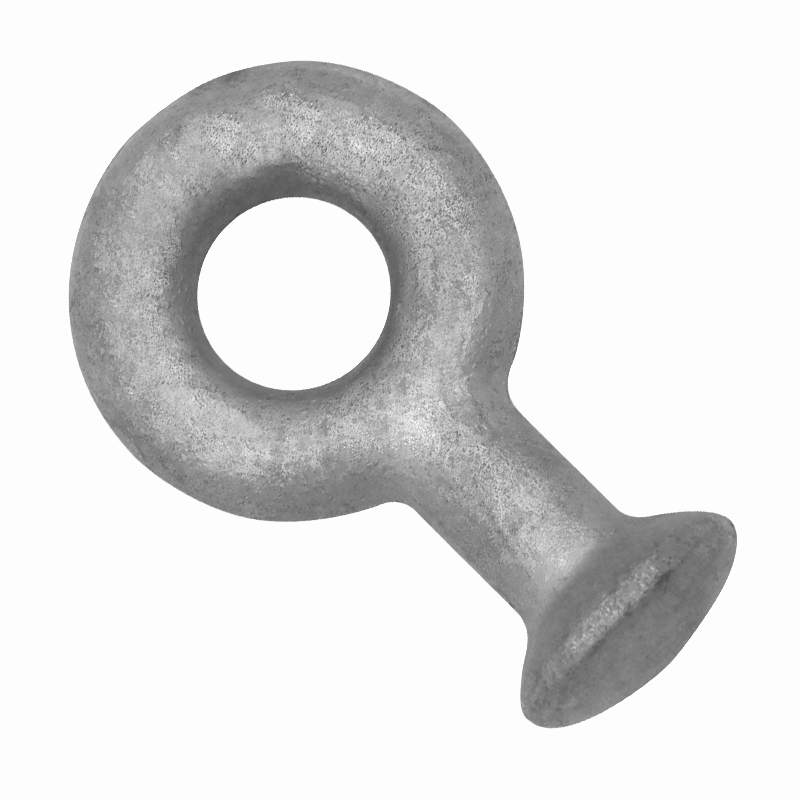
How do you install eye bolts?
Eye bolts are versatile fasteners commonly used for lifting, securing, or hanging objects. Proper installation is crucial to ensure safety and optimal performance. Here's a step-by-step guide on how to install eye bolts:
1. Select the Appropriate Eye Bolt:
Choose an eye bolt suitable for the specific application. Consider factors such as load capacity, material strength, and environmental conditions.
2. Determine the Load Direction:
Identify the direction of the load or force that the eye bolt will experience. Different types of eye bolts are designed for vertical, angular, or horizontal lifting, and it's essential to install them accordingly.
3. Inspect the Eye Bolt:
Before installation, thoroughly inspect the eye bolt for any damage or defects. Check for cracks, deformities, or signs of wear that could compromise its integrity.
4. Choose the Installation Location:
Select a location on the structure or surface where the eye bolt will be installed. Ensure that the mounting surface is strong enough to handle the intended load and that there are no obstacles or obstructions.
5. Drill a Pilot Hole:
If the installation surface is wood or another material that requires it, drill a pilot hole using a drill bit with a diameter slightly smaller than the shank of the eye bolt. This facilitates easier installation and reduces the risk of splitting the material.
6. Insert the Eye Bolt:
Insert the threaded shank of the eye bolt into the pilot hole or directly into the mounting surface. Hand-tighten the eye bolt initially.

7. Apply Lubrication (if needed):
If the installation involves a threaded eye bolt, applying a lubricant to the threads can make the installation smoother. This is especially important for larger eye bolts.
8. Use Washers or Reinforcements:
Depending on the application and mounting surface, consider using washers or reinforcements to distribute the load and prevent damage to the surface material.
9. Hand-Tighten Securely:
Hand-tighten the eye bolt securely. If further tightening is needed, use tools such as a wrench or pliers to ensure a snug fit. Be cautious not to overtighten, as this may damage the eye bolt or compromise the installation.
10. Verify Alignment:
Ensure that the eye bolt is properly aligned according to the intended load direction. Misalignment can reduce the bolt's load-carrying capacity and affect its performance.
11. Inspect the Installation:
After installation, conduct a final inspection to confirm that the eye bolt is securely in place and that there are no signs of damage or instability. Check for proper thread engagement and overall stability.
12. Attach the Load:
Once the eye bolt is securely installed and inspected, attach the load using appropriate hardware or attachments. Ensure that the load is evenly distributed and does not exceed the rated capacity of the eye bolt.
13. Periodic Inspection:
Regularly inspect the eye bolt and its installation for signs of wear, damage, or loosening. Periodic checks help maintain safety and prevent potential accidents.
By following these steps, you can install eye bolts securely and effectively for various applications. Always adhere to safety guidelines, use the correct tools, and consult relevant standards or regulations for specific installations, especially in industrial or lifting applications.

